Thursday, March 31, 2016

Moon Bible Verses {Printable}

Pin It Now!


I love to gaze up at the moon. I think it's such a wonderful, beautiful, and mysterious creation of God: a non-light reflecting a light to become a light. I think Ephesians 5:13 does a much better job of explaining this concept: "But everything exposed by the light becomes visible--and everything that is illuminated becomes a light." 


Now, I realize that this particular verse in context isn't really referring to the moon, but I still think it can be applied. When the dark moon is exposed by the sun's light, it becomes visible, and in turn becomes a light to slightly brighten night.

It's like the moon is a visible word picture of how we should live as Christians. I just love that! We don't produce our own light, but we should be reflecting the light of Jesus to this dark world in which we live. When we are exposed by the Son's light, we become little lights to also brighten night.

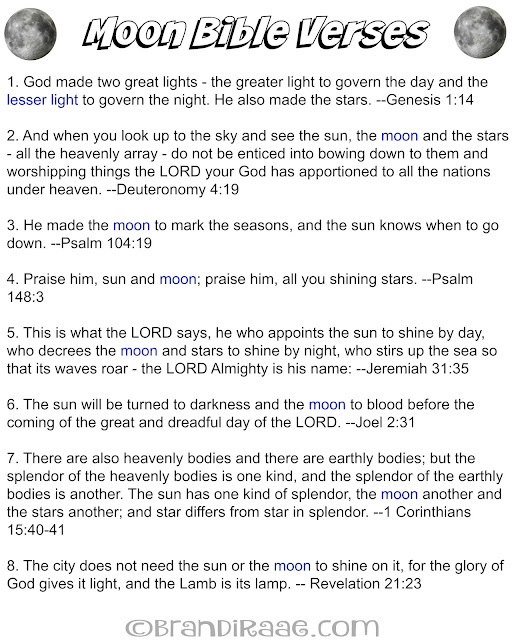
If you'd like some moon Bible verses to go along with any kind of moon study with your children, feel free to print these verses. You may even want to cut out the verses into strips and memorize one verse per week with your children. :) Some of these verses are best read in context for better understanding. Click here to print the following Moon Bible Verses Printable.


Check out my children's book about the moon!


Linked to Mommy Monday Blog Hop, WFMW, Hip Homeschool Hop, Tell It To Me Tuesdays


*affiliate link included in this post

Monday, March 21, 2016

Oreo Delight Ice Cream Muffin Cups

Pin It Now!

I was introduced to Oreo Delight while my husband and I were dating. It was a staple dessert at his grandma's house. When we moved to Arizona 9 1/2 years ago, I knew I needed to start making it myself to keep my hubby and kids happy. :) I've always made it in a 9x13 baking dish, but for a recent BBQ get-together, I decided to serve it a little differently. I thought it might make for an easier serving option. I really like how the Oreo Delight Ice Cream Muffin Cups turned out!!


Oreo Delight Ice Cream Muffin Cups

Ingredients
  • 1 package of Oreos (I sometimes use about a box and a half of Late July Vanilla Bean Green Tea cookies that look just like Oreos except taste better!!!!!)
  • 1/2 gallon (or whatever size it comes in now) of vanilla ice-cream (I use Breyers Natural Vanilla Bean)
  • Home made whipped cream, or you could just use a tub of Cool Whip.

Directions

Let ice-cream sit on counter to soften quite a bit, not totally liquefied, but soft enough to stir into the consistency of a frosty or something like that. Crush 1 package of Oreo cookies while ice cream is softening. I like to leave the cookies kind of chunky, so that there are bite-size pieces. Mix soft ice-cream, cookies, and *home made whipped cream together. 

Instead of spreading into a 9x13 glass baking dish like I instructed in my original Oreo Delight post, spoon mixture into paper lined muffin tins. You should be able to fill about 24. Store in freezer. If you want to garnish each ice cream muffin with an Oreo, you will need to let the ice cream harden enough so that the Oreos can stand up in the middle of the "muffin" without falling over. I think I let the ice cream harden for at least an hour or more. After topping with Oreos. freeze for several more hours - I let mine freeze overnight with a foil tent over each muffin pan. When you are ready to serve, peel the paper off and eat! (Using a spoon is less messy.)


*To make home made whipped cream, buy a pint of heavy whipping cream and beat with an electric mixer until stiff. Before beating, I add about a tablespoon or 2 of sugar to sweeten just a tad.

Enjoy!

Linked to Mommy Monday Blog Hop, Works for Me Wednesday, Funtastic Friday

Sunday, March 13, 2016

Cookie Moon Phase Project

Pin It Now!


In light of publishing my first children's book about the moon, I decided to update our delicious moon phase project made with cookies. I can't believe it's been 4 years since my sweet girl and I had so much fun with astronomy. :) To view original post, click the link. (Picture below is from original post.)


Updated Cookie Moon Phase Project


What I Used:

  • For moons: 8 Oreos or other type of chocolate sandwich cookies with white cream filling
  • For the earth: Sugar cookie that is larger than moon cookies
  • Plate
  • Frosting (I used powdered sugar and milk to make mine)
  • Food coloring
  • butter knife
  • toothpick
  • black construction paper and silver sharpie, optional

What I did:

First, I chose my plate and then cut a circle out of a black piece of construction paper to fit the plate. I wanted the background to look more like the sky in space. I also used a silver sharpie to dot stars all over the paper. You could use a little bit of icing on the plate if you want the construction paper to stick. A black paper plate would work nicely if you have one.

Second, I whipped up a little bit of white frosting with powdered sugar and milk and left it somewhat thin, but not too thin. I colored some of it blue and some of it green, and I also left a little bit white for clouds. You don't need a lot of frosting since you are only using it for one cookie. After frosting the cookie blue, I used a regular butter knife to dab in the land masses. I wasn't trying to be entirely accurate here. ;) I used a toothpick to swipe in some clouds. 

(I used plain, old sugar cookies from Fry's)

(Icing - nothing fancy, just powdered sugar and milk)

Third, I set aside the earth cookie to dry and moved on to the moons. I very carefully took 8 Oreo cookies apart, trying to leave the white filling intact. I had to use more than 8 cookies to accomplish this. ;) For the full moon, leave white filling as is. For the new moon, scrape off all of the white filling with a knife or use the other side of the cookie. For the 2 half moons, scrape off half of the white filling. For the 2 crescent moons, scrape off 3/4 of the white filling, and try to make them look more like bananas. :) For the 2 gibbous moons, scrape off about 1/4 of the white filling, and really, these should have more rounded edges. I sort of forgot that part on my updated version. :(

Fourth, I put the earth in the middle of the plate and placed the 8 moons, in the correct order, around the earth. Use frosting if you want the cookies to stick to the plate. I did this step the first time my daughter and I completed this project. Leave the project out for a few days to enjoy looking at it, or EAT IT instead!!! Eating is definitely more fun. :)


Your Turn:

Download my book, Mysterious Moon, and then make this delicious moon phase project!! I would love to see all of your creations! Please feel free to email me pictures of your own moon phase projects at brandiraae at live dot com, and I will post them on my blog. :) Include your name and where you are from if you want to, or you can remain anonymous. Remember to be creative - you don't have to do yours exactly the same. You could use a cupcake or doughnut for the earth, or you could even draw or paint it like my daughter did the first time we made ours. 


Linked to Mommy Monday Blog Hop, Hip Homeschool Hop, WFMW, Try A New Recipe Tuesday, Tuesdays with a Twist, Inspire Me Monday, Mix It Up Monday, Tell It To Me Tuesdays, A Little Bird Told Me, Tasty Tuesdays


affiliate link included in this post

Wednesday, March 02, 2016

February ~ A Month of Firsts!

Pin It Now!
We experienced lots of firsts this month. By the first of February, we were able to say GOODBYE to our 3 1/2 year renting phase of life - yay!!! Unfortunately, for the first time I experienced moving with the flu. I was so miserable. :( So glad to feel great again!

First time to live in a neighborhood with a golf course. Didn't think I'd like it too much, but I'm loving all the trails and how hubby and I are walking together on a consistent basis. I think we're averaging about 18 miles per week. Feels so good. I definitely have more energy and feel better overall.


First time to FINALLY have white cabinets, and they're all throughout the house!! I've wanted white cabinets for my entire marriage, but the curse of orange oak seemed to follow me wherever I went. Even though I definitely have less cabinet space, at least the cabinets are white. :) It's also the first house in which I've ever had granite counter tops. Ooooh, feeling middle class fancy for sure!!


Less cabinet space led to my first ever china cabinet thanks to my sweet hubby. Even though the extra storage space was more of a "need" I still wanted it to look nice. I LOVE the way it turned out, and I only used items that didn't fit in my cabinets. For the first time, I have somewhere to display my milk glass which was passed on to me from my mom which used to be my grandma's. I wish my grandma were still here so she could see it displayed in my home.


First time to see 5 planets in the sky right along side the moon. It was really neat! Too bad Mercury, Mars, and Saturn wouldn't show up on my phone camera. Only Jupiter and Venus were bright enough and close enough, I guess.


First time to hike the San Tan Mountain even though I've lived SO close to it for 9 years.


First Valentine's Day in our new home.


And last but not least, on February 23, 2016 I published my first children's book, Mysterious Moon!! Though it isn't my first manuscript, it is my first published book - click on the link to download it from Amazon. :) Thanks!


Now, I'm looking forward to March and turning 40 - yikes!

This post contains amazon affiliate links. 

LinkWithin

Related Posts Plugin for WordPress, Blogger...